
With the warmer weather here, I’m a little behind on summer clothes for our boys. This season has definitely sneaked up on me! So, I’ve been eyeing some patterns to get me through the transition from long pants and sleeves to shorts and t-shirts. With this summery season upon us, the sun’s rays are something I need to keep an eye on especially with fair-skinned little boys. So, that led me to the Oliver+S reversible hat.
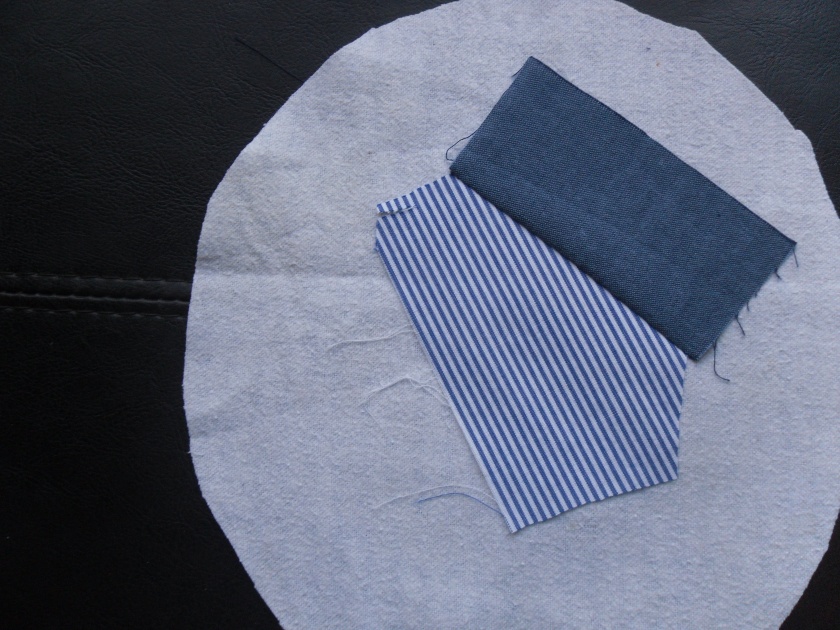
I had the pattern printed and went to grab my fabric choices. With three boys, I usually have quite a stash of boyish prints and solids ready for the next project. My only problem is that after a while that stash begins to diminish (while the girly prints seem to be growing for some reason- maybe time for me to stop buying all those irresistibly cute flowers and bows for a while :)). Anyways, I had a huge pile of small scraps from recent projects for the boys which I decided were taking up too much space and needed to go!

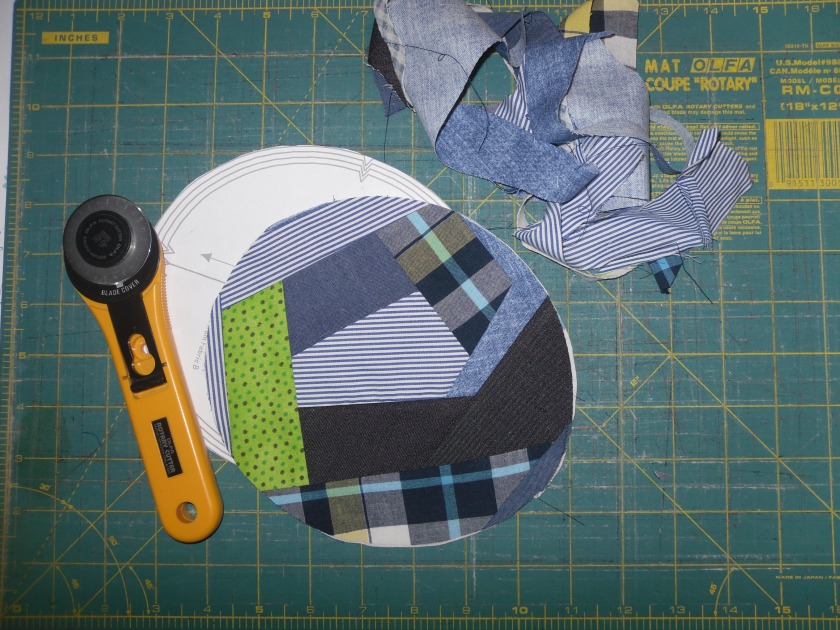
I decided to make some fabric from all my scraps and give it a crazy quilt look. Never crazy quilted? It’s loads of fun and very therapeutic, in my opinion. It’s also a break-the-rules kind of quilting where you don’t need to measure (or you can…if that’s your thing!) and you can just sit and mindlessly sew. Don’t know how? I’ll try my best to explain…and if you would rather watch a video to get the concept, Jenny from Missouri Star Quilt Company does a really great job of it here (I love watching these videos and how down-to- earth normal Jenny is!).
(Just a note- I skipped the interfacing that the pattern called for because I had extra weight due to the crazy quilting.)


And here’s the end result :


Pattern Review:
Sewability: I thought this pattern was well put together! I’m definitely planning on making more hats for the boys in the very near future. I love that it’s a quick project that can be done while the kiddos are sleeping.
Skill level: I would recommend this pattern for those with a little sewing background. That being said, it’s a very easy project for adventurous beginners. Plus, Oliver+S has a great forum on their site if any questions arise while in the middle of sewing their patterns. For example, I was thinking that I wanted to add straps to the next hat I sew and there were some helpful hints on their site on how to do just that!
Overall review: Great pattern! I’m definitely recommending this one for any and all that are interested! Great pattern to see what Oliver+S has to offer.
Price:FREE! You can’t beat that!
