Busy Sewing!

Some weeks it’s hard to find time to sew. This wasn’t one of those weeks for me. Although my week was still plenty busy with running around and regular routine, the urge to sew this past week was strong :).

First up…a little dress. I was looking through my patterns debating whether or not to make something for myself and instead I opted for sewing a gift. This dress is a size 3 from New Look 6854. I tacked some ribbon bows to the shoulders for added interest.

SAM_0453

The fabric was from the line Good Neighbors by Crazy Mom Quilts. I loved how soft and cute this fabric was!

SAM_0454

Next up… nursing pads. I intended to give these as a gift to my pregnant friend, but didn’t have a cute bag to put them when we got together to go maternity shopping (my intention was to make a cute drawstring bag for them…great for throwing them in the laundry as well).

I traced around a CD to get the round shape, sewed darts in each piece, and serged around the edges. I have 3 layers of flannel (for absorption) and 1 layer of fleece (a great water repellent).

SAM_0455

I used up quite a few of my flannel scraps for these nursing pads. It feels great to get rid of some of my scrap pile and know they’re going to be useful at the same time!

SAM_0456

Finally…a top for myself. I rarely sew clothing for myself. I don’t know…I may be hooked! I had this fabric for a while in my cupboard and I’m glad now that I used it up! It’s a super soft pointe de roma (a thick knit fabric which was super easy to sew with) and it makes this tshirt so comfortable! I used the breezy top pattern found at It’s Always Autumn. I modified it slightly by making it more narrow and lengthened it by 5 inches and added ruching to the sides for added interest. This top is super roomy on me and oh so comfy!

SAM_0458

I struggled at first with the double needle on my machine, but when the kiddos were in bed and the house was quiet, I managed to conquer the technique. I’m really happy with how the hem and sleeves turned out. The neckline was probably the nicest neck to date that I’ve made. So, overall a success!

SAM_0459


Until next time,

Rachel

Lined Baby Sleep Sack: An Afternoon Project

I’ve decided that once I’ve started to sewing for babies, I can’t stop! There’s something really fun about sewing something miniature and cute! It doesn’t hurt that they’re usually a quick and fun sewing project :).

I used this tutorial for this 0-3 month sleep sack.

Since this sleep sack is intended for a baby that is going to be born in the cold winter months here in Canada, I chose a super cozy chenille for the outside fabric and a breathable cotton for the inner fabric.

SAM_0452

SAM_0451

I kept things simple this time with a classic white for the inner and outer fabric. I have made this sleep sack with a cute owl and bird applique, but I was on a time constraint to get it done so maybe next time!

Until next time,

Rachel

Cloth Baby Shoes- An Afternoon Project

So, my baby turned four yesterday! Lots of fun was had here at our house and now it’s time to wind down and get back into the normal rhythm.

Also, great news came in the form of a phone call from my maid of honour on Sunday! They’re expecting a baby in January and I couldn’t be happier for them! My maid of honour and her husband have been close friends since high school so it’s even more exciting to be able to raise our children with theirs. I’m through the roof excited!

So, naturally with baby on the brain, I had to get my baby sewing fix in! Since my sewing time has been minimal this past week, I wanted a quick and easy afternoon of sewing. It turns out that I had cut the fabric pieces for this project and had left them in a plastic bag with the pattern. So I grabbed the pattern pieces and got to sewing. An hour later (with a few distractions from the kiddos) the shoes were sewn! Now to decide who to gift them too- my super cute nephew or my expectant maid of honour. I may be making a few more before their baby is here!

SAM_0447SAM_0450

These shoes are great for using up scraps. I used scraps of flannel (boyish print and green) and batting scraps for the sole insides.

The free pattern for these shoes can be found here.

Until next time,

Rachel

On the Sewing Table: Birthday Quilt/Play Mat

My oldest is going to be 4 next week! It’s so much fun seeing him grow up before our eyes.

With his birthday coming up, I’ve been setting aside presents for him. We, as a general rule of thumb, don’t go super extravagant for birthdays in our house whether it be gifts or party decor. We keep it pretty low key- as in family comes over and we have a good time with a few presents for the birthday boy.

So when I went to a local quilt show and stumbled on a road map panel for a bargain price ($4 for 2 yards!, yeah!), I instantly thought that it would be great for L’s birthday. Here’s a sneak peak at how I put it together:

SAM_0434
I marked this quilt with a piece of a regular soap bar which works great! I measured every 6 inches and drew a grid over the entire quilt.

SAM_0433

SAM_0437
I trimmed the edges when everything was marked and pin basted.
SAM_0435
Here’s a closeup of the backing- just a big enough piece of fabric from my stash.
SAM_0438
This is how I stitch my quilts together on my regular sewing machine. Lap and twin sized quilts are my preferred size for this method although I have finished a queen sized quilt like this as well.

Just thought I would give you a quick look into my sewing for the week! When it’s completed, I hope to get a quick picture of it with the birthday boy which I’ll show to you in a later post.

Hope you’re having a good sewing week as well!

Until next time,

Rachel

Scrappy Saturday Sewing: Quilted Hotpads

I had scheduled this post for last week Saturday…and it didn’t publish..so better late than never 🙂 !

So…with three little ones running around my house not much is decor magazine quality in my house. My furniture takes a good beating from time to time because they’re used by all the members of the household…including our sons. Don’t get me wrong, my husband and I aim to teach our boys to respect other people’s property, including our own. But, until they’ve completely learned that lesson, our home is a battlefield and our furniture ends up losing from time to time!

Our living room table is a good indication of what I am talking about. It has numerous scrapes and scratches, but, to be honest, I wouldn’t have it any other way because every scratch on that table I count as a badge of honour. Our children are growing up right before our eyes and the furniture shows the wear and tear of three little boys…OUR three little boys.

Anyways…after that ramble, for those who would like to preserve their living room table to not look like three little boys have played hard on it, this next project is for you! And, although my table looks well loved, I still like to have something pretty to put on it from time to time when guests come over for tea or coffee!

SAM_0331

This is a great project for some of the little scraps of fabric you have lying around that most people would have thrown out. But…not you (or me for that matter) because you never know what you can make from that pile of fabric goodness.

I had some spare half square triangles lying around from another project which I wanted to use. They measured 1 7/8 inches when they were trimmed up. So I grabbed some other coordinating fabrics and cut a few 1 7/8 squares to give me this block.

SAM_0332

After the block was assembled, I added a border around it to get a 6 inch square.

I cut a 6 inch square of backing fabric and batting and 2 1/2 inch strips for the binding.

SAM_0333

And after straight line quilting the block and binding the edges…you are left with a nice mug rug or coaster or mini quilt.

SAM_0336

So satisfying to know that these were just made from scraps!

SAM_0343SAM_0348SAM_0353

10 Tips to Make the Easiest Baby Blanket even Easier!

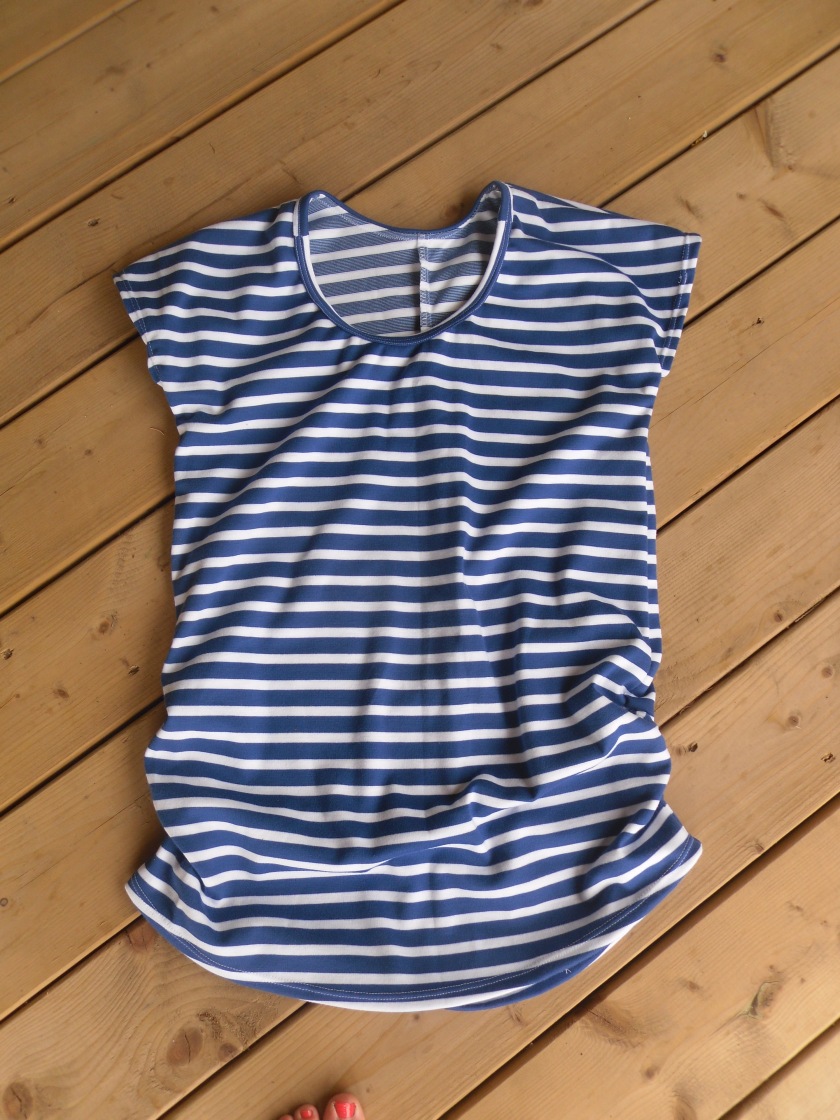
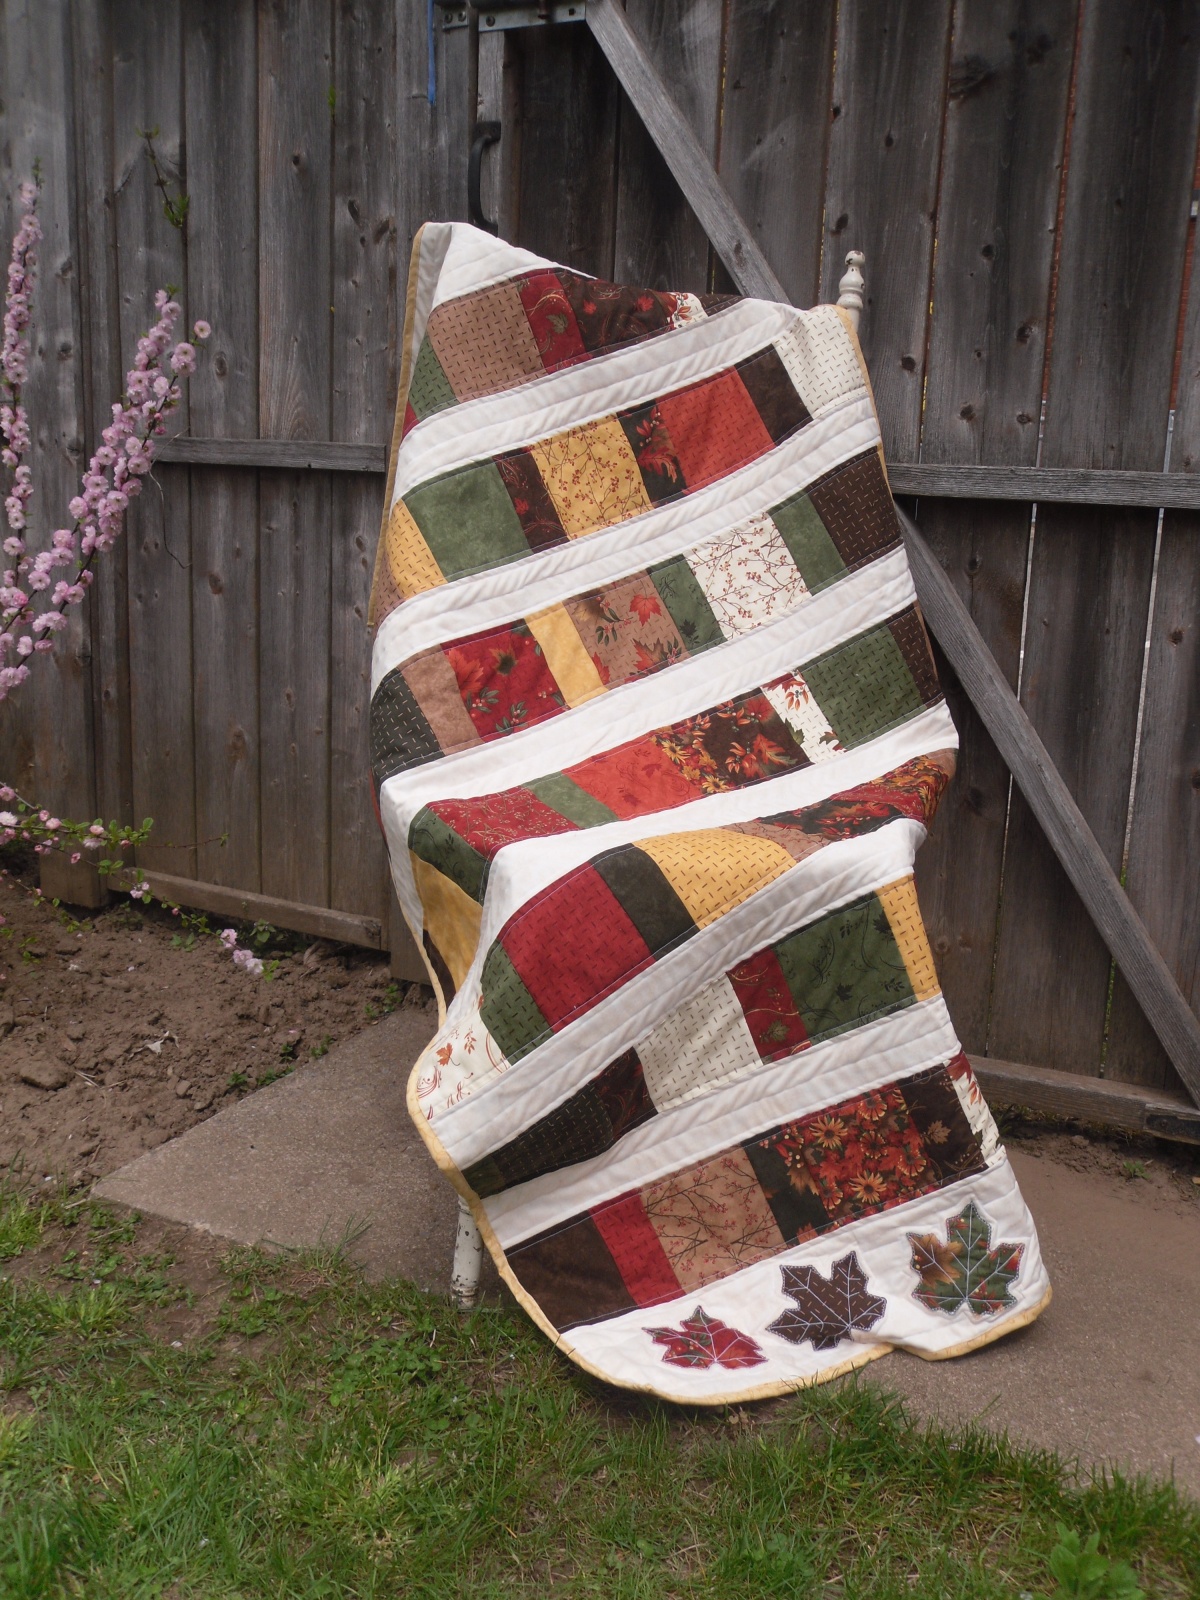
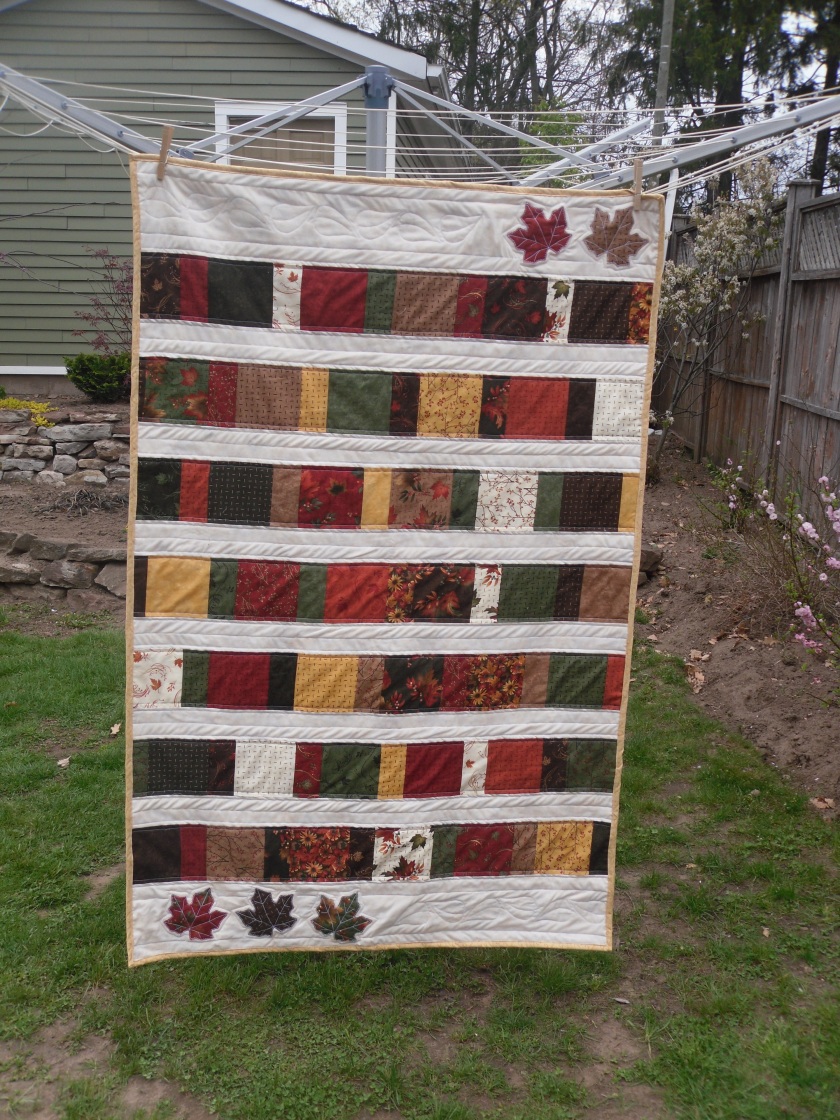
Baby blankets were one of my favourite gifts to receive when our boys were babies. With all the spit up and drool going on with our little ones, it was always great when there was a receiving blanket on hand to wipe it up. They were also great for swaddling them in nice and tight when they were still in the newborn stage. There’s nothing so cozy as a newborn baby snuggled nice and tight! Why did my babies have to grow up so fast!

Usually the flannel in our local Fabricland (our area’s equivalent to the US’ Joann’s), has a very good selection of soft flannel which I love to browse. Every time I tell myself that I should grab it when it’s on sale (which is quite often!), but it never fails that when I do need to make receiving blankets, it’s full price. One of these days I’ll learn and just stock up when the price is right!

These double sided receiving blankets are really quite simple to make. This is actually a great project for beginners! Essentially, you have to squares of fabric the same size which you pin together, sew together, turn right side out, and topstitch. Very simple and straight forward and I’m sure they’re are oodles and oodles of in depth tutorials on the nitty gritty details. What I’m going to share with you is how to make that process even EASIER and QUICKER.

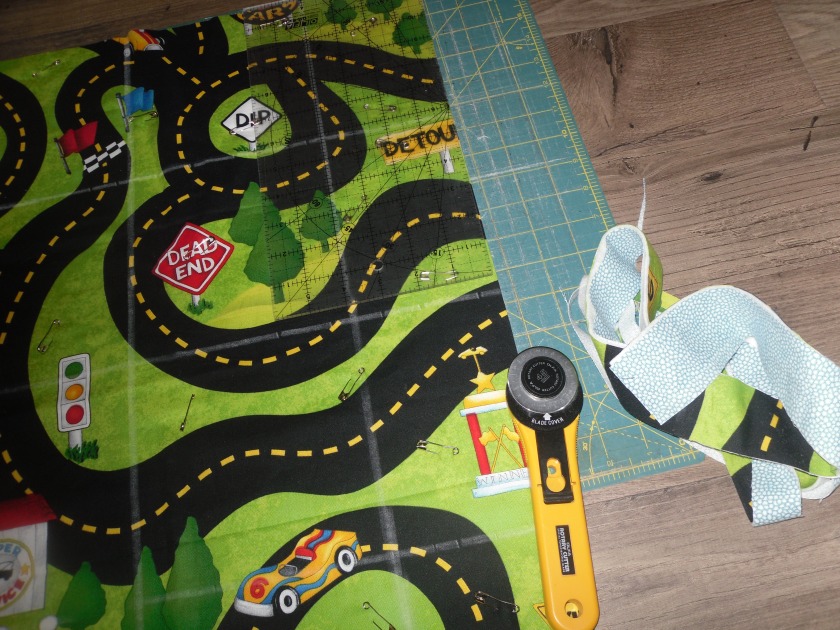
  1. This job is so much easier with the right tools. A rotary cutter and its self healing mat, pins, scissors, and a sewing machine is really all you need to get this project on the road to finished.
    1. I highly recommend any and all who are looking to sew to get a rotary cutter. The rotary cutter is BEST INVENTION EVER for the sewer or quilter!!! Yes… you can do with scissors, but I promise you, once you’ve gotten your hands on a rotary cutter, you will never go back. Ever.
    2. Pins are essential for making this job so much easier as well. In my opinion, you can never pin enough. It may seem like a pain initially, but it saves you from having to painstakingly get the stitch ripper out and redo those stitches.
    3. Scissors are great for the trimming and snipping those loose thread ends.
    4. And, finally, a sewing machine is…well… for sewing the project together…unless of course you’re planning on doing it with a good ole fashioned needle and thread (and then my hat’s off to you for giving it a go!)

SAM_0360

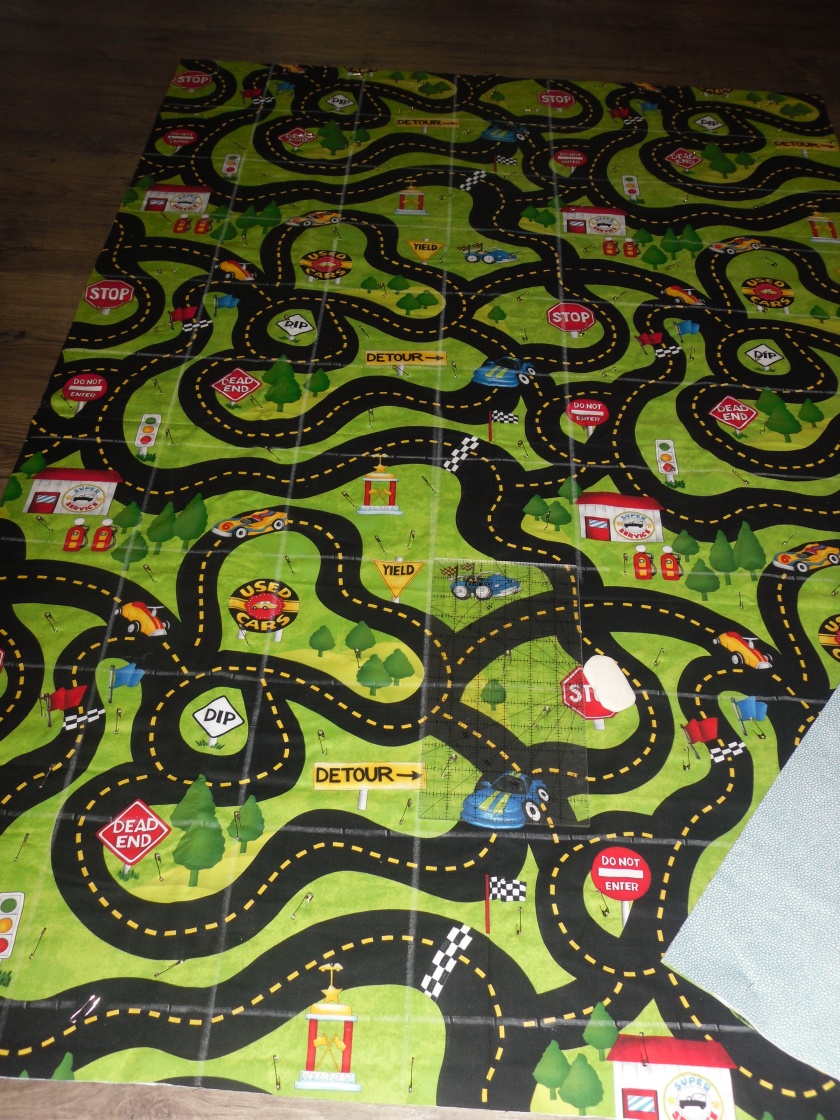
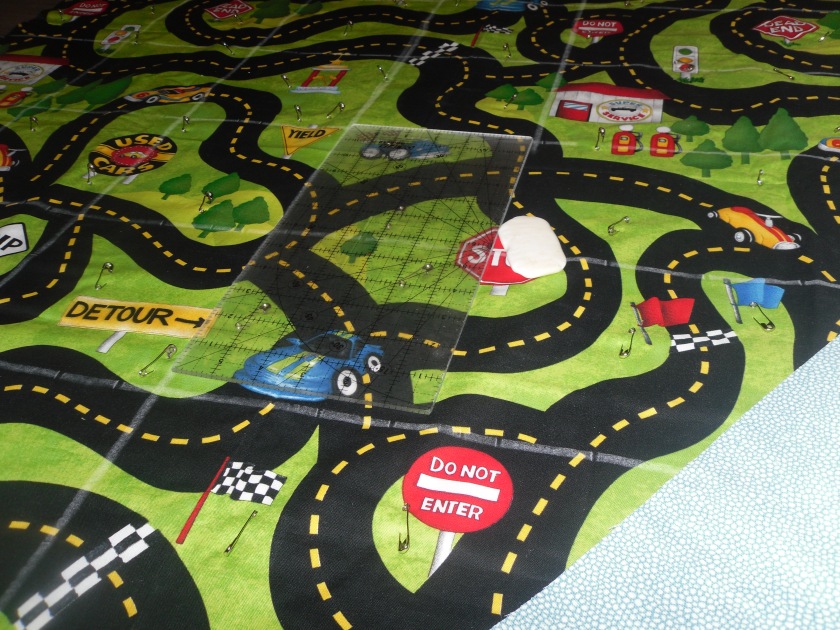
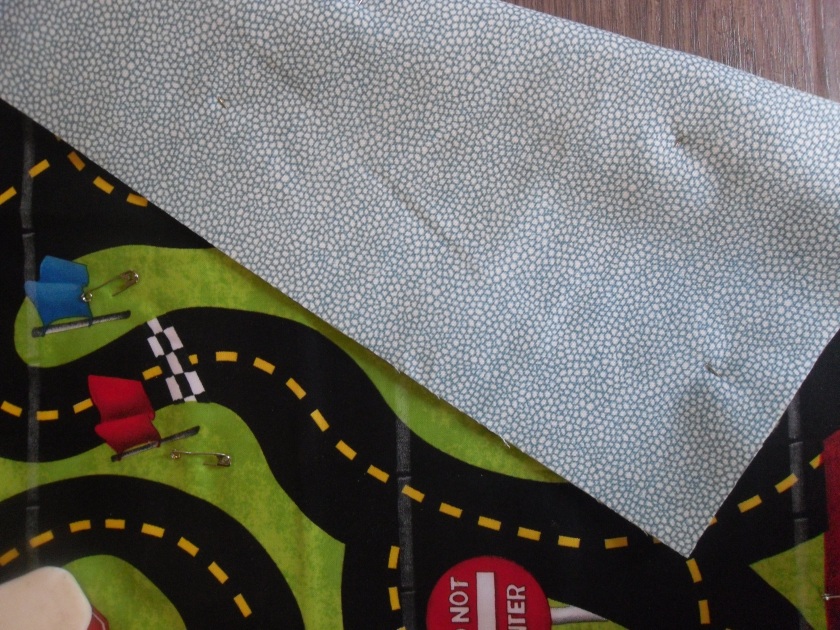
2. When you lay your fabrics to trim, lay the pretty or right sides together right away. This saves me from having to reposition the fabrics when every thing is trimmed up to size. I make sure that the manufacturers’ edges are lined up and trim the rough edges (the ones cut from the fabric store).

SAM_0359

3. When you get to trimming your fabrics…don’t be afraid to trim enough off of the edges. When you can get a nice even cut with your rotary cutter and get ALL of the layers the right size right away. Instead of realizing later on that the bottom fabric is an inch smaller and having to go back and retrim…just trim it right away with enough clearance for ALL of your layers.


SAM_0361

4. This is a really simple tip…but one that has saved me many times from sewing the whole blanket together only to realize that I didn’t leave a hole for turning it right sides out. I double pin the beginning and ending to give myself an added reminder that I need to stop and start sewing in these positions.

5. Also, remember to backtrack your beginning and ending stitches. This leaves the hole reinforced when you have to turn the blanket right sides out leaving you without worry that you might have to redo some stitching.

SAM_0363

6. Leave a big enough hole to turn your blanket around. Yes… you can turn the whole blanket around with an inch hole…it’s a huge pain in the you-know-what… but so much easier with a little wriggle room! I usually leave a 5 inch gap which gives me enough room to flip everything right sides out.

SAM_0362

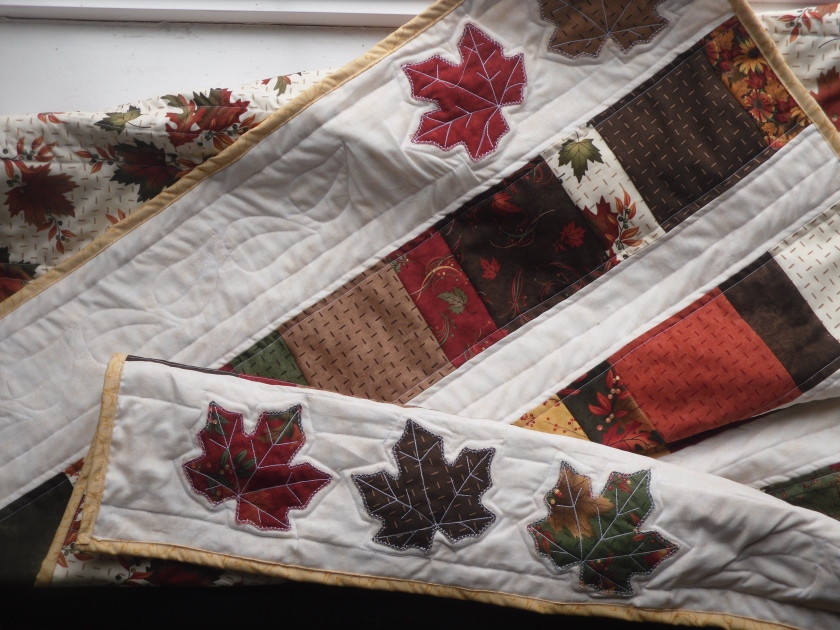
7. Trim those corners and any seam that ended up being a bit more than a 1/4 inch seam allowance. It makes for nicer corners and when you’re snuggling with that cute little baby, you can admire the nice neat corner and pat yourself on the back for not skipping this step.

SAM_0364

8. Use your scissors to get nice clean corners. There are special tools for this, but my scissor is always at my finger tips when I’m sewing…one less thing to look for when you’re in a hurry to finish up your project!

SAM_0365

9. Pin your opening closed. It’s really easy to skip over this step, but it’s so worth it to get the opening closed neatly before sewing it. I’ve learned that it’s worth the effort of putting a few pins in…anything to avoid using that dreaded stitch ripper!

SAM_0369

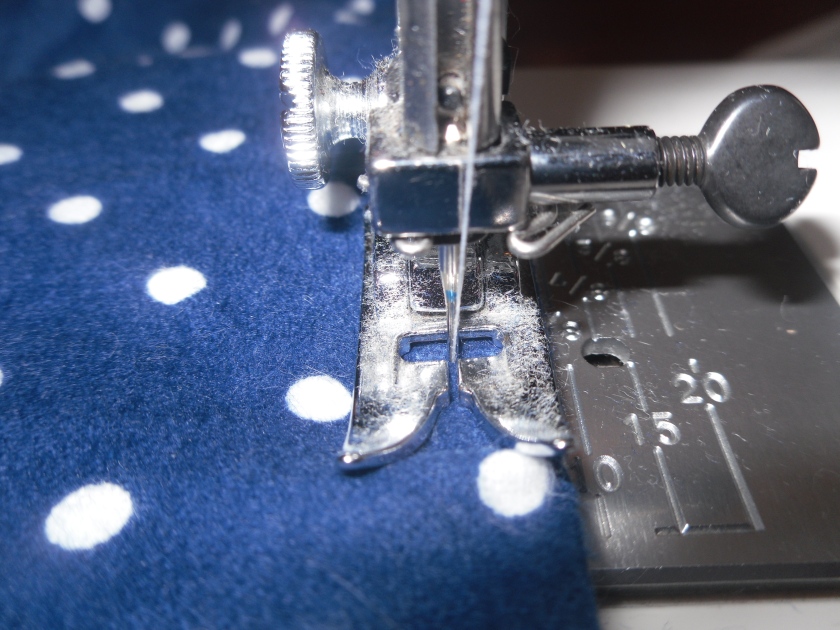
10. For a clean, consistent topstitching, line your presser foot with the edge of the fabric. This will give you a nice and straight line of stitches that will get all your friends wondering how you manage to sew so straight!

SAM_0371

11. Plan your project ahead of time. For this project, I looked to see what colour thread would work for both blankets. It may seem silly but changing my thread half way through finishing a project is one more step that I like to avoid. For these blankets, I used white thread that worked well for both.

Enjoy your finished project!

SAM_0372

Until next time!

Rachel

Star Table Topper

Happy belated Mother’s Day! My day was filled with so much love from my three little boys and husband. Since our boys are still too young to understand the concept of Mother’s Day (our oldest is going to be 4 in June), my husband went out of his way to make it extra special for me. We spent the day like we do every Sunday…going to church and spending time with family…but it still felt like a day filled with love and dedicated to Mom. I have so much love for my boys and truly feel so blessed to be called their mother!

SAM_0319

We, as a family, are also so blessed to have such wonderful Moms that support us. My Mom and Mother-in-law are always ready to watch the boys at the drop of a hat and since they both live so close, it happens quite regularly!

Since I had made a king sized quilt for my Mom and Dad’s bed already, I made a simple table topper for their living room table instead of a full sized quilt like the one I made for my Mother-in-law.

SAM_0294

I used all the leftover charm squares from my Mother-in-law’s quilt for this table topper. I really love when I can use up what I have and still end up with something pretty substantial. I forgot to get the finished dimensions of it but it’s approximately 25 inches square. The actual star came from this idea here and I liked it so much I might try making a quilt with different fabric sometime later on down the road.

SAM_0295

The quilting was really fun to do on this table topper as well. I stitched Maple leaves on the corners  and simple vine-like leaves along the outside border. In the center of the star, I stitched another Maple leaf as well just for added interest.

SAM_0304SAM_0296

And because I couldn’t resist showing you what it really is like when Mom wants to get the sewing done…here’s a peak into my sewing space/dining room table.

SAM_0275

The Gift of Fall…in Spring

There’s something about fall colours. They’re so warm and inviting…just what I want the quilts that I sew to be. So when I saw this line called Maple Island by Holly Taylor, I saw a cozy quilt. And…since the colours worked in both my mother in law’s and my mom’s home…a mother’s day gift it was!

Here’s the quilt that I sewed for my mother in law. I thought it would be a nice quilt to cozy up by their wood stove either at home or at the cottage. My inspiration came from here although I made a few tweaks here and there to make it my own.
SAM_0289

I had to laugh when taking these pictures because I have beautiful spring blossoms everywhere in my flower bed that didn’t seem to go with the warm tones of an autumn quilt.

Here’s a close up of the quilting…I went with straight line quilting for the majority of the quilt and I pulled out a leaf stencil for the top and bottom of the quilt.

SAM_0292

I traced and sewed a maple leaf onto a scrap of batting before appliqueing it to the actual quilt. I love how they stand out more because of the extra layer of batting and give it a little more dimension.

SAM_0297